
Removing and installing glow plugs, engine codes CBAA, CBBB, CBAB, CBBA, CBDB, CBDC, CBAC, CBDA — VW
Removing and installing glow plugs, engine codes CBAA, CBBB, CBAB, CBBA, CBDB, CBDC, CBAC, CBDA on VW: 17 steps, engines CBAA, CBAB, CBAC, CBBA.
Workshop procedure for VW — the exact step sequence and torque figures, straight from real workshop data.
🧭 Before you start
Fits: VW Passat CC (357, 2008–2012), VW Passat B6 (3C, 2005–2010), VW Tiguan I (5N, 2007–2016), VW Golf VI (5K, 2008–2013); platform codes 1F7, 137, 521
- Special tools named: torque wrench
Don't miss
- Adhere strictly to rules of cleanliness. No dirt must be allowed to get into the disconnected fuel return lines or the open connections on the injectors under any circumstances.
- Attach glow plug connectors correctly and make sure they are securely fitted.
📋 Procedure
- Switch off ignition.
- Remove engine cover panel .
- Remove noise insulation from injectors.
- Pull connectors off injectors (A), exhaust gas pressure sensor 1G450(B) and fuel rail pressure sensor (C).
- Unscrew securing bolts of coolant line (arrows) from intake manifold and set down coolant line in front of intake manifold.
- ⚠ Make sure that no wiring connections are damaged when disconnecting the connectors. Otherwise the whole wiring harness will need to be renewed. Do not compress the pliers3314 too firmly to separate the connectors, otherwise the support sleeve may be damaged. — Position pliers3314 with groove (arrow A) on support sleeve shoulder (arrow B) and pull plugs off glow pin plugs.
- Carefully pull connector off glow plug in direction of (arrow).
- Unscrew securing nut of fuel return line from intake manifold, open clamp (arrow) and pull line off fuel rail.
- Pull off fuel return line connections at the injectors. To do this, push connector downwards at tabs and pull up centre piece to release. [Note: Adhere strictly to rules of cleanliness. No dirt must be allowed to get into the disconnected fuel return lines or the open connections on the injectors under any circumstances.]
- Remove entire fuel return line and set it down in front of intake manifold.
- Remove wiring harness and lay to one side.
- Clean glow plug opening in cylinder head, ensuring no dirt makes its way into the cylinder. [Note: Cleaning procedure:Use a vacuum cleaner to remove coarse dirt.Spray brake cleaner or suitable cleaning agent into glow plug opening, let it work in briefly, and blow out with compressed air.Then clean glow plug opening using a cloth moistened with oil.]
- To loosen glow plugs use special tool U/J extension and 10 mm socket3220
- To tighten glow plugs use special tool U/J extension and 10 mm socket3220 with a suitable torque wrench.
- Then tighten glow plugs to specified torque.
- Attach glow plug connectors correctly and make sure they are securely fitted.
- Clear engine control unit event memory.
🎬 Related video tutorial
Independent AUTODOC tutorial for the same job, filmed on a different model (PASSAT B7 Saloon) — the technique carries over, the fasteners and figures on this page are the ones for your car.
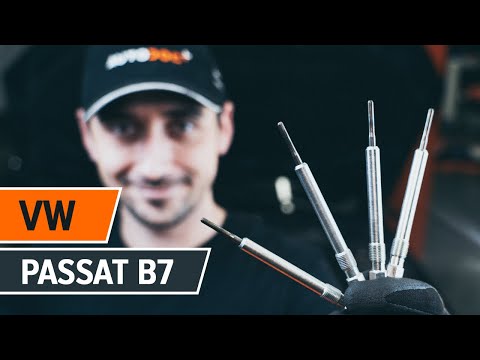
How to change glow plugs on VW PASSAT B7 Saloon
Other VW procedures
- Checking delivery rate of fuel pumps – Audi A3 2.0 TDI
- Removing and installing control pipe for pressure sensors
- Removing and installing fuel filter housing - vehicles with unit injector engine
- Checking current consumption of fuel system pressurisation pump
- Checking the current draw of the fuel pump for delivery G6 (0.5 bar low-pressure fuel system)
- Removing engine · 41 torque figures
- Removing and installing camshaft – VW Golf Cabriolet · 47 torque figures
- Adjusting valve timing – VW Passat B5 · 83 torque figures
- Removing and installing camshafts – VW Passat B6 · 39 torque figures
- Removing and installing coolant pump · 53 torque figures
Who makes these pages, and how
TorqFix was built by a mechanic — after a 2,700 km drive with five roadside repairs that no diagnostic tool could explain.
The figures on this page come from manufacturer workshop documentation and are shown as they are. The page is assembled automatically from that data — it is not written by an AI. The AI works in the chat, where it answers for your specific car. It writes nothing here.
Variants of the same model differ. Cross-check torque against the factory manual for your engine before final tightening.
Seen a figure that does not match your manual? Write to us — we correct it and note when. support@torqfix.com
The story behind TorqFix →Workshop data on this page last updated 20 Sep 2026.