
Dismantling and assembling drive shaft, constant velocity joint VL90/VL100 — AUDI
Dismantling and assembling drive shaft, constant velocity joint VL90/VL100 on Audi: 15 steps. What to remove, in what order, and what to check after.
Workshop procedure for AUDI — the exact step sequence and torque figures, straight from real workshop data.
🧭 Before you start
Fits: Audi A1 (8X, 2010–2018)
- Special tools named: puller, torque wrench
Don't miss
- Deflector ring (1) must be flush with contact surface of outer joint (arrow).
- Apply clamp tensionerV.A.G 1682 A as shown. Ensure jaws of tool make contact with lugs (arrows B) on hose clip.
📋 Procedure
- Clamp drive shaft in vice using protective jaw covers.
- Fold back rubber boot.
- Set up puller T10382 so that smooth side of puller plate T10382/1 faces towards spindles T10382/2.
- Assemble puller T10382 together with multi-purpose toolVW 771.
- Pull CV joint off drive shaft using puller T10382 and multi-purpose toolVW 771.
- Install new circlip.
- If necessary, push new joint boot onto drive shaft.
- Knock onto shaft with plastic hammer until circlip engages. [Note: Deflector ring (1) must be flush with contact surface of outer joint (arrow).]
- First drive rubber boot off with drift.
- Press on joint as far as stop.
- Engage circlip.
- Insert lug (1) of hose clip into guide (arrow).
- Compress hose clip with pliers, e.g. locking pliers for Phaeton steering rackVAS 6199 until upper part (1) locks with guide (arrow).
- Apply clamp tensionerV.A.G 1682 A as shown. Ensure jaws of tool make contact with lugs (arrows B) on hose clip.
- Tighten hose clip by turning spindle with torque wrench (take care to keep tool straight). [Note: Due to the hard material of the CV joint boot (as opposed to rubber), a stainless steel hose clip is required; this can only be tightened using clamp tensionerV.A.G 1682 A.Tightening torque: 25 Nm.Make sure thread of spindle (A) on clamp tensioner turns freely. Lubricate with MOS2 grease if necessary.If the thread is stiff (e.g. due to dirt), the required clamping force will not be attained at the hose clip when the specified tightening torque is applied.]
🎬 Related video tutorial
Independent AUTODOC tutorial for the same job, filmed on a different model (A6 C5 Avant) — the technique carries over, the fasteners and figures on this page are the ones for your car.
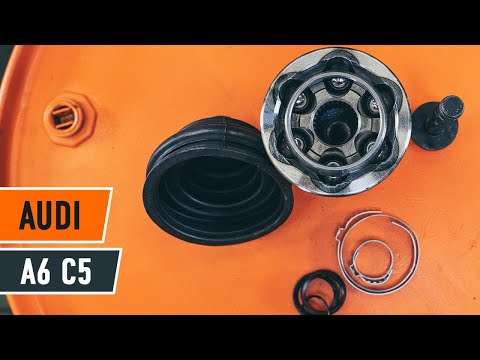
How to change cv joint on AUDI A6 C5 Avant
Other AUDI procedures
- Removing and installing toothed belt – Audi · 56 torque figures
- Removing engine – Audi A8 D3 · 41 torque figures
- Removing camshaft timing chain from camshafts – Audi A6/A7 C7 · 38 torque figures
- Installing engine – Audi A8 D4 · 36 torque figures
- Removing and installing camshaft timing chain · 29 torque figures
- Removing and installing power steering pump (vehicles with 6-cyl. 2.5 ltr. TDI engine) · 1 torque figures
- Renewing front roof reinforcement · 1 torque figures
- Audi 80, 100, A6, coupe 4-cyl 2-valve timing belt replacement
- Audi 2.0 ABK timing belt replacement
- Checking cooling output – Audi TT Mk2
Who makes these pages, and how
TorqFix was built by a mechanic — after a 2,700 km drive with five roadside repairs that no diagnostic tool could explain.
The figures on this page come from manufacturer workshop documentation and are shown as they are. The page is assembled automatically from that data — it is not written by an AI. The AI works in the chat, where it answers for your specific car. It writes nothing here.
Variants of the same model differ. Cross-check torque against the factory manual for your engine before final tightening.
Seen a figure that does not match your manual? Write to us — we correct it and note when. support@torqfix.com
The story behind TorqFix →Workshop data on this page last updated 20 Sep 2026.