
Removing and installing rear brake disc: Audi A8 D4
Step-by-step removing and installing rear brake disc for the Audi A8 D4: 18 steps. What to remove, in what order, and what to check after.
Workshop procedure for AUDI — the exact step sequence and torque figures, straight from real workshop data.
🧭 Before you start
Fits: Audi A8 D4 (4H, 2010–2017)
Don't miss
- Ignition onRelease parking brake.Coding checked and rectified if necessaryEvent memory interrogated, displayed faults rectified and event memory erasedIgnition off.
- The brake and the electromechanical parking brake must not be operated when the brake caliper has been detached. — Remove locating bolt (arrow) from brake disc, holding brake disc in position.
- Take care to keep the brake disc straight when taking it off the wheel hub.
- Take care to keep the brake disc straight when fitting it onto the wheel hub.
- Make sure that the electrical wiring is properly clipped into the brackets on the hub carrier and secured so that it cannot come loose.
📋 Procedure
- Connect up . [Note: Ignition onRelease parking brake.Coding checked and rectified if necessaryEvent memory interrogated, displayed faults rectified and event memory erasedIgnition off.]
- Position vehicle on lifting platform .
- Remove wheels.
- Unclip wiring from brackets on hub carrier.
- Remove bolts (15).
- Detach brake caliper with brake pads and brake carrier (3).
- Use a suitable length of wire to tie up brake caliper with brake carrier on the body.
- ⚠ The brake and the electromechanical parking brake must not be operated when the brake caliper has been detached. — Remove locating bolt (arrow) from brake disc, holding brake disc in position.
- Take brake disc off wheel hub. [Note: Take care to keep the brake disc straight when taking it off the wheel hub.]
- Fit brake disc onto wheel hub. [Note: Take care to keep the brake disc straight when fitting it onto the wheel hub.]
- Screw in locating bolt (arrow) and tighten.
- Install brake caliper with brake carrier and brake pads fitted.
- Tighten bolts (15).
- Clip wiring into brackets on hub carrier. [Note: Make sure that the electrical wiring is properly clipped into the brackets on the hub carrier and secured so that it cannot come loose.]
- Fit wheels Audi A8 2010 ► Running gear, front-wheel drive and four-wheel drive44Tightening torque for wheel bolts.
- Lower vehicle.
- Connect up . [Note: Switch on ignition Parking brake releasedCoding checked and rectified if necessaryEvent memory interrogated, displayed faults rectified and event memory erased.]
- Start the corresponding routine in the Guided Functions. [Note: After installation, firmly depress the brake pedal several times with the vehicle stationary so that the brake pads are properly seated in their normal operating position.Make sure that the brakes work properly before the vehicle is driven on the road.]
🎬 Related video tutorial
Independent AUTODOC tutorial for the same job, filmed on a different model (A6 2 (C6)) — the technique carries over, the fasteners and figures on this page are the ones for your car.
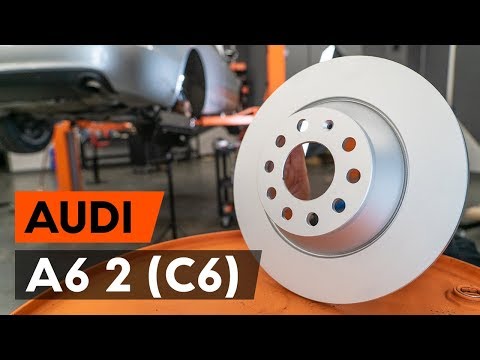
How to change rear brake discs / rear brake rotors on AUDI A6 2 (C6)
Other AUDI procedures
- Removing and installing toothed belt – Audi · 56 torque figures
- Removing engine – Audi A8 D3 · 41 torque figures
- Removing camshaft timing chain from camshafts – Audi A6/A7 C7 · 38 torque figures
- Installing engine – Audi A8 D4 · 36 torque figures
- Removing and installing camshaft timing chain · 29 torque figures
- Removing and installing power steering pump (vehicles with 6-cylinder MPI petrol engine)
- Checking actuation of heating element for additional heater Z35
- Removing and installing mobile telephone operating electronics control unit J412 (as of MY 04) · 2 torque figures
- Removing and installing sill panel trim (Allroad) – Audi A6 C5 · 1 torque figures
- Servicing wheel bearing housing with bolted wheel bearing
Who makes these pages, and how
TorqFix was built by a mechanic — after a 2,700 km drive with five roadside repairs that no diagnostic tool could explain.
The figures on this page come from manufacturer workshop documentation and are shown as they are. The page is assembled automatically from that data — it is not written by an AI. The AI works in the chat, where it answers for your specific car. It writes nothing here.
Variants of the same model differ. Cross-check torque against the factory manual for your engine before final tightening.
Seen a figure that does not match your manual? Write to us — we correct it and note when. support@torqfix.com
The story behind TorqFix →Workshop data on this page last updated 20 Sep 2026.